This easy banana bread recipe is the BEST way to use ripe bananas! It’s moist, delicious, and packed with banana flavor. You’re going to love it!

This banana bread recipe is the best way to use overripe bananas. Now that we have a little one in the house, we’ve been buying a LOT more bananas than we used to. Sometimes (ok, often), we don’t get to all of them before they ripen, and I end up with a heap of dark brown, spotty bananas on my counter. Banana bread to the rescue!
But not just any banana bread.
While some popular recipes call for 2 or 3 bananas, this banana bread recipe calls for 4. I love that it lets me use up lots of ripe bananas in one go, but that’s not the only benefit of adding so much fruit. It gives the banana bread an amazing moist texture and rich, sweet banana flavor.
Even if you already have a go-to banana bread recipe, I hope you’ll try this one. Easy to make and SO delicious, it’s my new favorite. It could be yours too!

Banana Bread Recipe Ingredients
Here’s what you’ll need to make this recipe:
- Bananas, of course! The riper, the better. You’ll need 2 cups mashed, about 4 large bananas. Tip: To quickly ripen bananas for this recipe (within 1 to 2 days instead of 3+), store them in a paper bag.
- All-purpose flour – Spoon and level it to avoid packing too much into your measuring cup.
- Cane sugar – It sweetens the bread, bringing out the banana flavor. Brown sugar is fantastic here too—it makes the loaf extra-moist.
- Melted butter – It perfects the moist texture and adds buttery flavor. Sub vegetable oil to make this recipe dairy-free!
- Eggs and baking soda – They help the loaf puff up as it bakes.
- Vanilla, cinnamon, and nutmeg – For warm depth of flavor.
- Walnuts – For crunch! If you’d rather not add nuts, omit them, or replace them with an equal amount of raisins or chocolate chips.
- And sea salt – To make all the flavors pop!
Find the complete recipe with measurements below.

How to Make Banana Bread
This recipe is easy to make—no mixer required! Here’s how it goes:
First, combine the wet ingredients. Mash the bananas with a potato masher or fork, and place them in a large mixing bowl. Add the sugar, melted butter, eggs, and vanilla and whisk until well combined.
Can you use thawed frozen bananas for banana bread?
Yes! Previously frozen thawed bananas work well here.
To freeze bananas, peel them and place them in an airtight container or freezer bag. Freeze for up to 3 months. Allow to thaw overnight in the fridge before making this recipe.
- Tip: Freeze bananas when they are ripe and spotty for the sweetest flavor.

Next, whisk together the dry ingredients. In a medium bowl, whisk together the flour, baking soda, salt, cinnamon, and nutmeg.
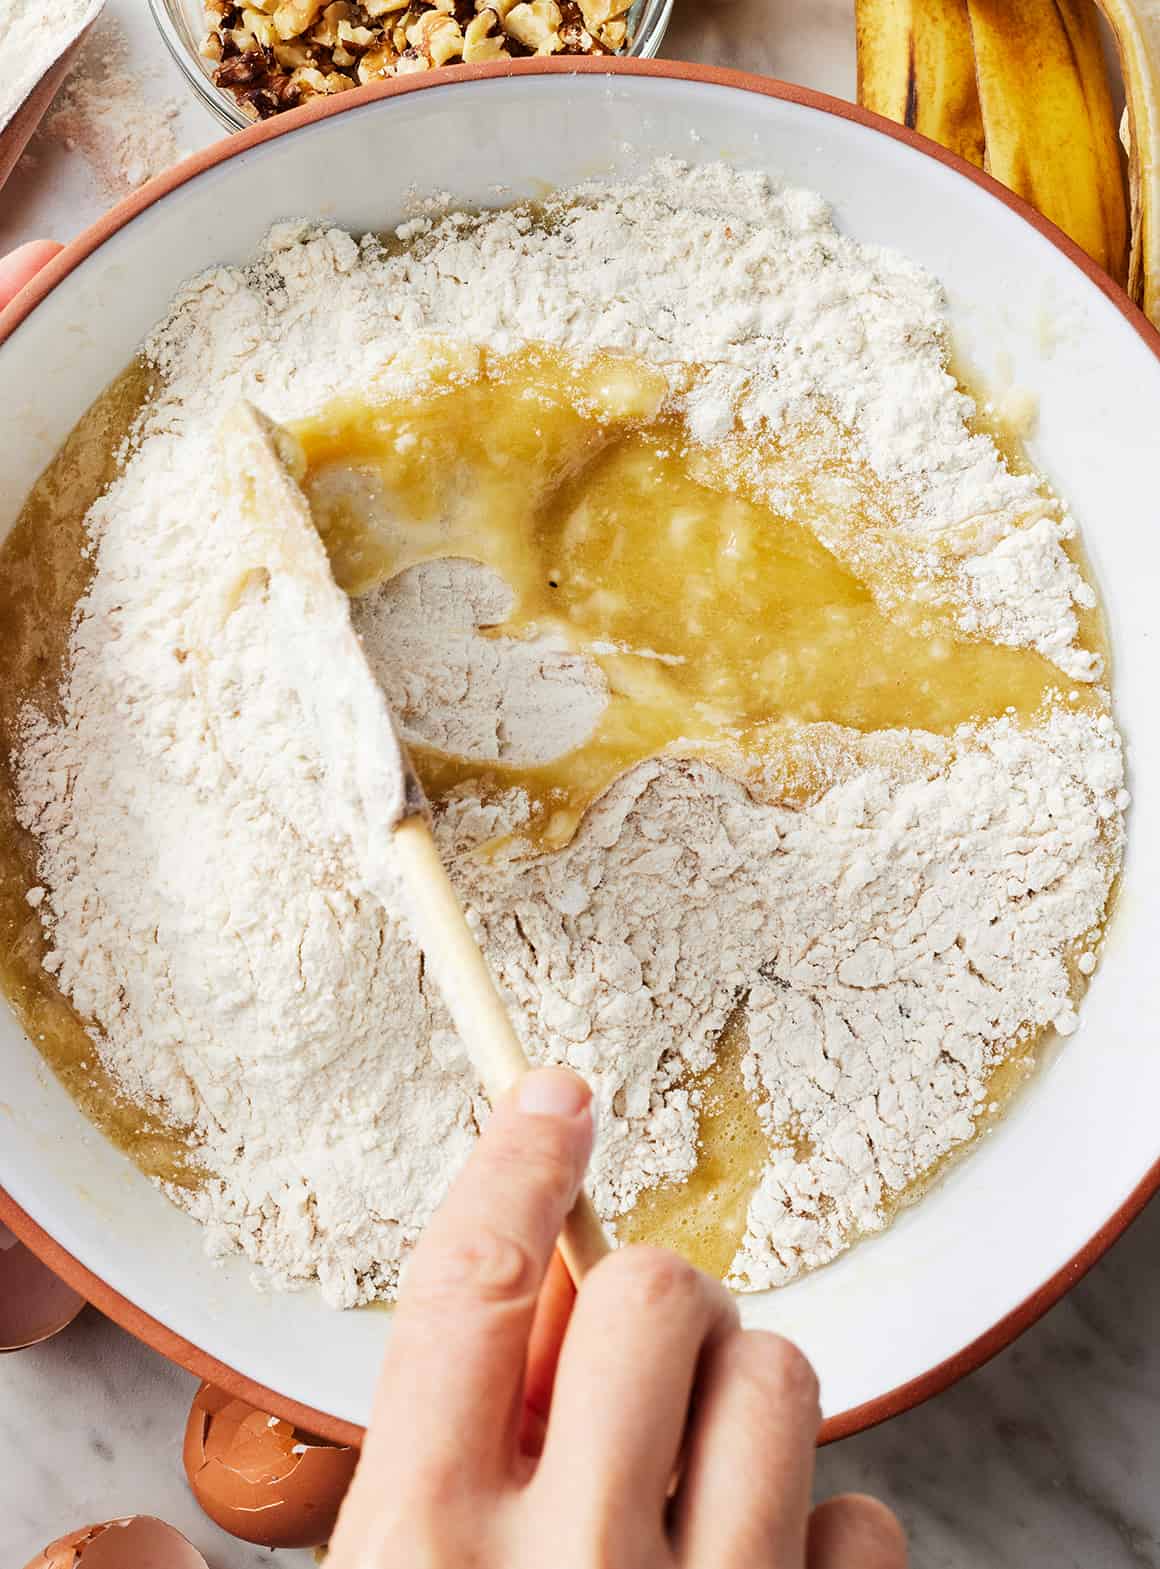
Add the dry ingredients to the banana mixture…

…and mix until just combined. Careful not to overmix! If you do, the bread will be dense.

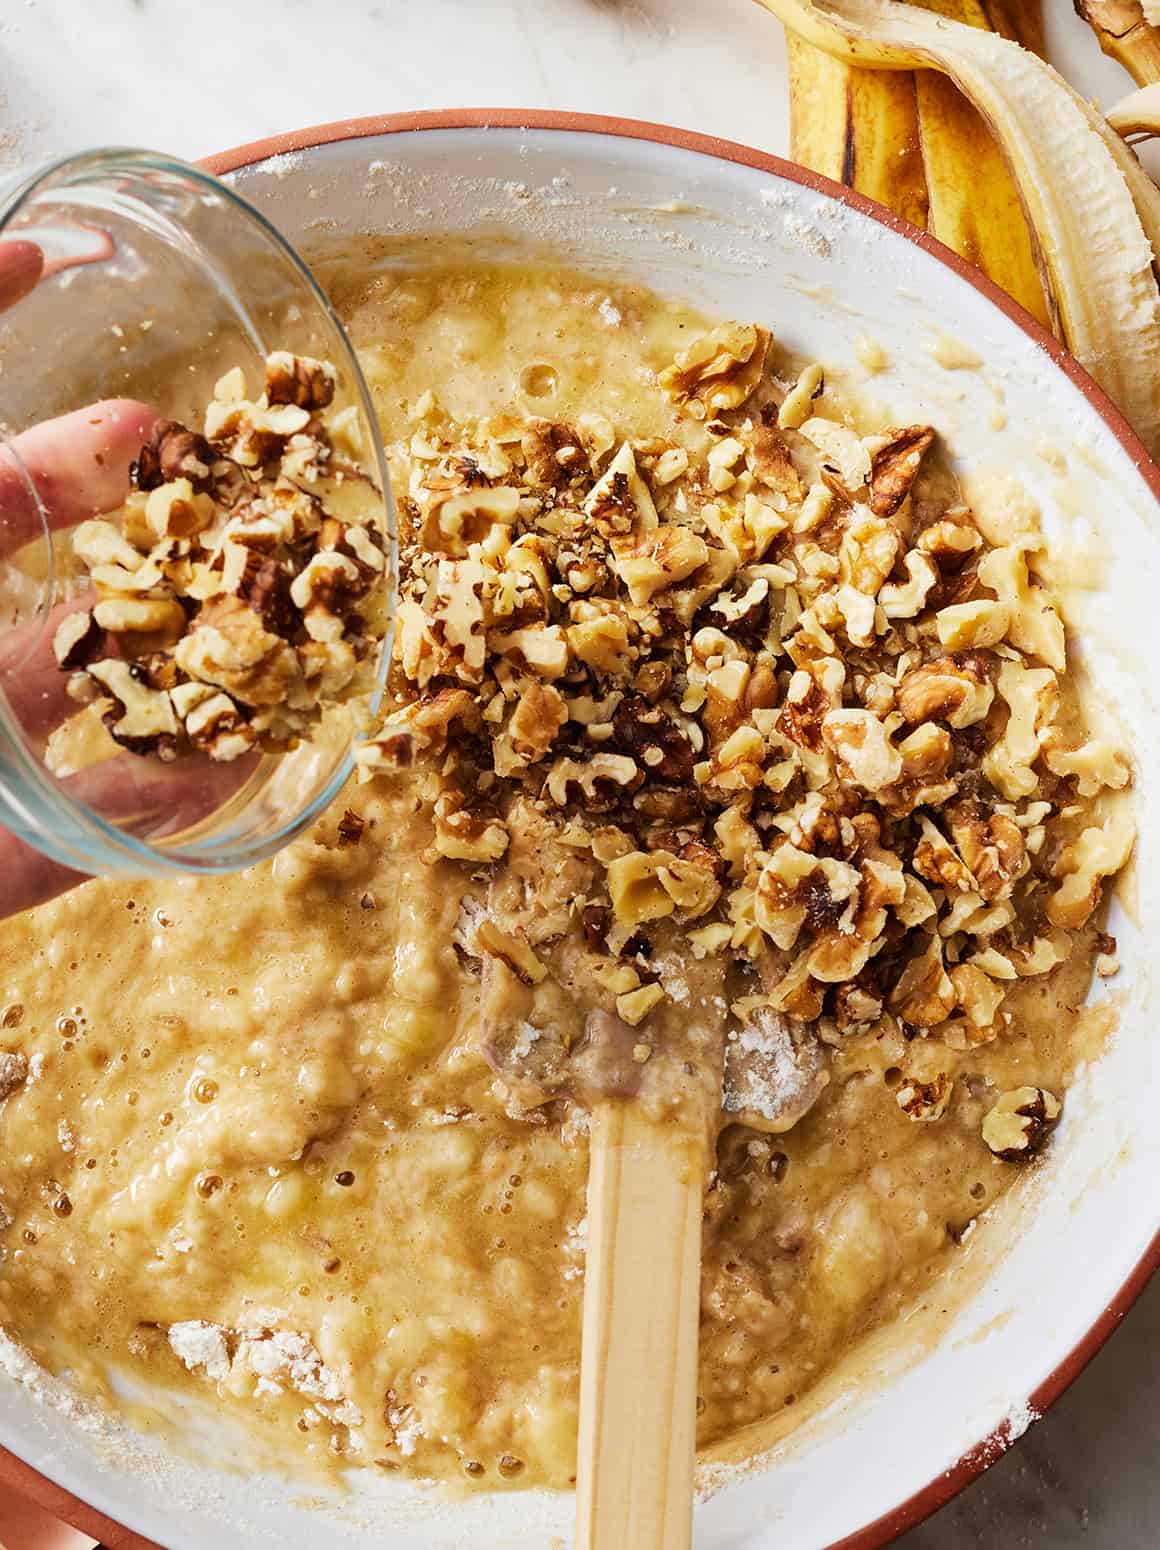
Fold the walnuts into the batter.
Variations
Not a walnut person? Here are some other mix-ins that would be great:
- Chopped pecans
- Chocolate chips
- Dried cranberries
- Raisins
Or skip the mix-ins! The recipe is still delicious without them.

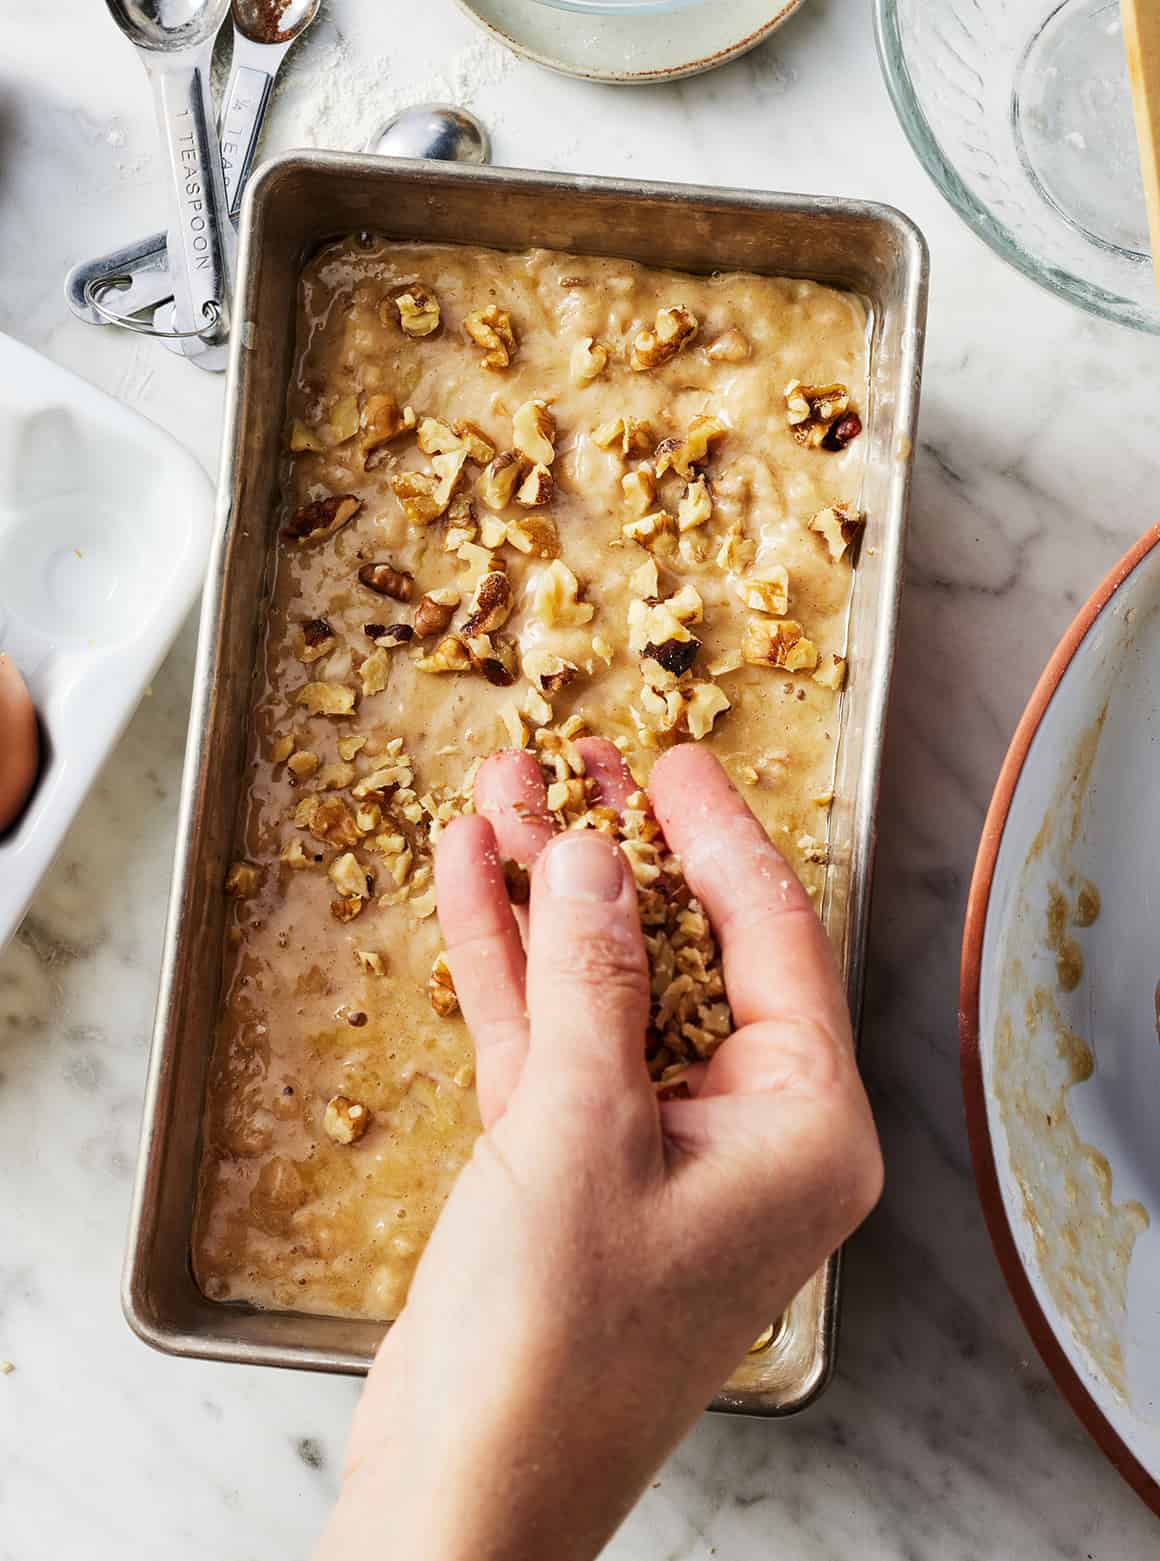
Finally, bake! Transfer the batter to a greased loaf pan and sprinkle more walnuts on top. Bake at 350°F for 50 to 60 minutes, or until a toothpick inserted comes out clean and the top springs back to the touch.
- Tip: Check the bread at 40 minutes. If the top is well browned but the loaf still needs more time, tent it with foil to prevent further browning as it continues to bake.
How to Make Banana Bread Moist
The best way to ensure that the bread comes out moist is to use the full amount of mashed bananas, 2 cups.
If you come up short on the banana, with 1 1/2 or 1 3/4 cups mashed, substitute plain yogurt or sour cream for the missing quantity to keep the loaf moist.

How to Store Banana Bread
Proper storage will keep your quick bread moist after baking.
Allow it to cool to room temperature in the loaf pan. Then, transfer the loaf to an airtight container, or tightly wrap it in foil or plastic wrap. Store at room temperature for up to 3 days.
Can you freeze banana bread?
YES! This banana nut bread freezes perfectly.
If you’d like to keep it on hand for more than 3 days, slice the cooled loaf and seal it in an airtight container or freezer bag. Freeze for up to 3 months.
Transfer slices to the fridge to thaw overnight, or quickly defrost them in the microwave.

More Quick Bread Recipes
If you love this recipe, try one of these easy quick breads next:
Got more ripe bananas? Make banana pancakes, banana muffins, or a peanut butter banana smoothie next!

Banana Bread
Serves 8
The BEST banana bread recipe! This easy loaf is moist, delicious, and packed with banana flavor. I love to add walnuts for crunch, but feel free to swap in pecans, chocolate chips, or raisins if you prefer.
- 2 cups mashed very ripe banana, about 4 large
- ½ cup cane sugar or brown sugar
- ½ cup melted butter or vegetable oil, plus more for the pan
- 2 large eggs
- 1 teaspoon vanilla extract
- 1½ cups all-purpose flour, spooned and leveled
- 1 teaspoon baking soda
- ½ teaspoon sea salt
- ½ teaspoon cinnamon
- ¼ teaspoon nutmeg
- ½ cup chopped walnuts, plus 2 tablespoons for topping
Prevent your screen from going dark
-
Preheat the oven to 350°F and grease an 8×4 or 9×5-inch loaf pan.
-
In a large bowl, whisk together the mashed banana, sugar, butter, eggs, and vanilla.
-
In a medium bowl, whisk together the flour, baking soda, salt, cinnamon, and nutmeg.
-
Add the dry ingredients to the wet ingredients and stir until just combined. Don’t overmix. Fold in the ½ cup walnuts.
-
Pour the batter into the prepared pan and top with the remaining 2 tablespoons walnuts.
-
Bake for 50 to 60 minutes, or until a toothpick inserted comes out clean and the top springs back to the touch. I like to check the loaf after 40 minutes. If the top is golden brown, I cover it with foil for the remaining bake time to prevent further browning.
